


 Description for Windscreen - Step 7

Description by Dances with Mice
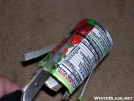
Step 7 Make the permanent portion of pot holder
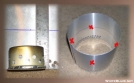
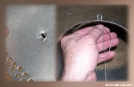
Use the hammer and nail (or electric drill) to punch small holes on any two of the 4 locations marked in Step 6, but NOT two opposite each other. Make the hole just larger than the diameter of the picture hanging wire. If using a nail, punch from the outside in, then use the hammer to flatten the sharp edges of the hole. No illustrations because you know how to make holes, right?
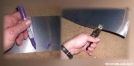
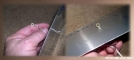
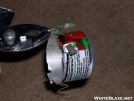
Cut 2 1 foot long lengths of picture hanging wire. Push the wire through the hole from the inside, then on the outside put the washer (split ring or paper clip) on the wire then twist the wire back on itself. Pull the wire from the inside to snug the washer as close to the flashing as possible. Trim off excess wire.


Comments for Windscreen - Step 7 (0)